Project 1 – Walking Robot
A future project space reserved for my walking robot – mechanics, control, and experiments will go here.
A future project space reserved for my walking robot – mechanics, control, and experiments will go here.
A smart, modular lithophane lamp project with 3D-printed parts, wooden cover, and smart home integration.
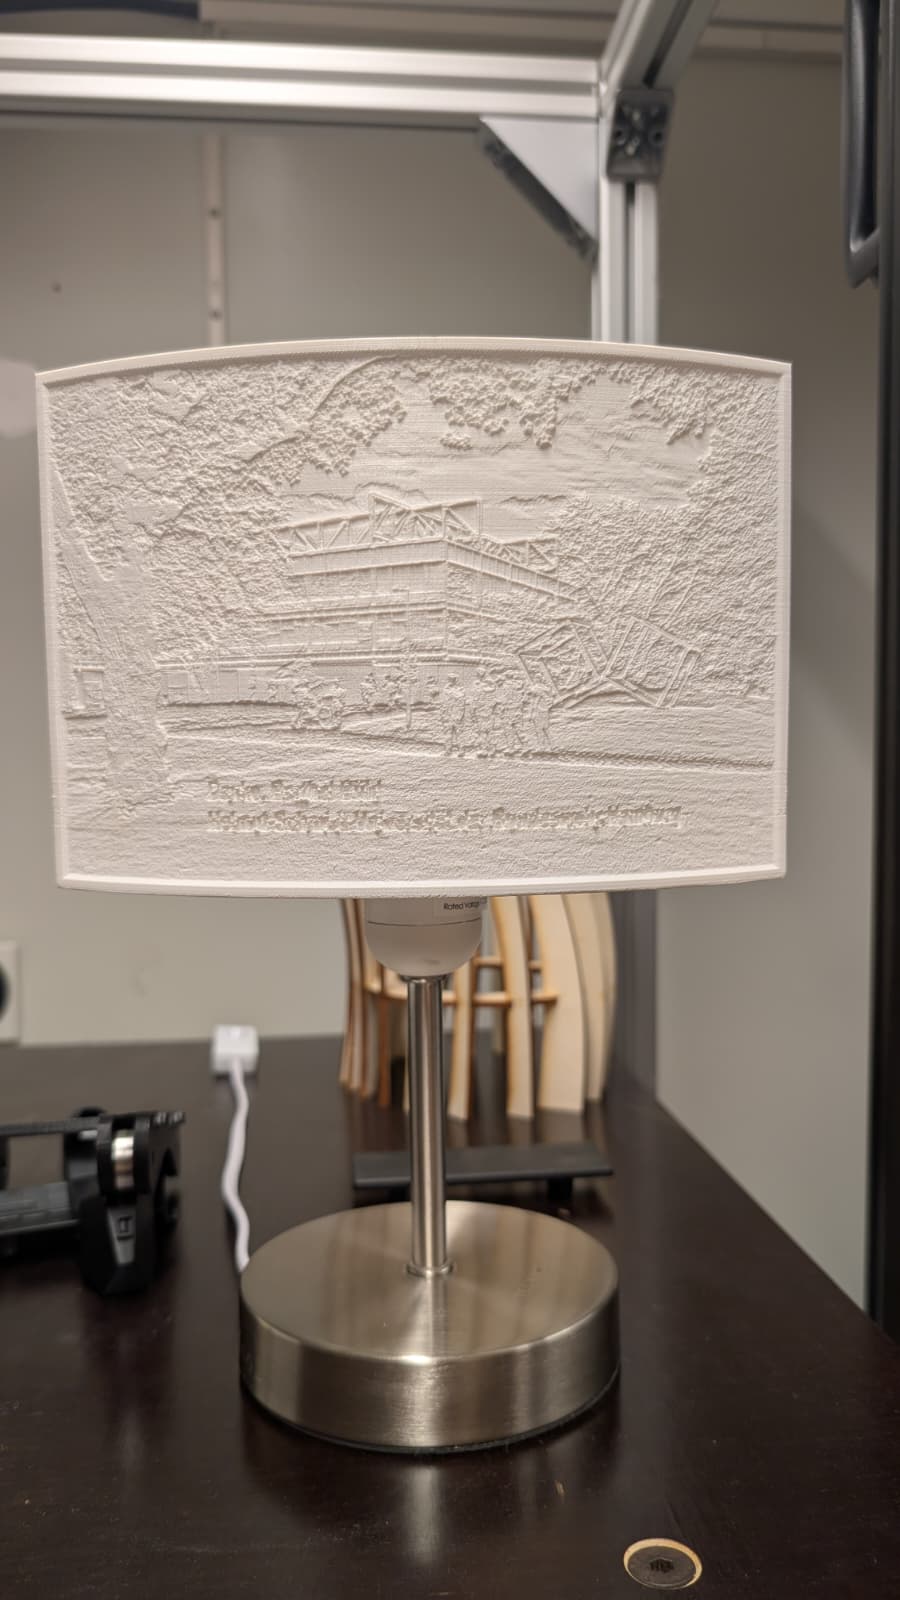
Obviously, if you want (or need) to do something, the question arises: What could I do? I browsed through the internet until I took a closer look at this lamp.
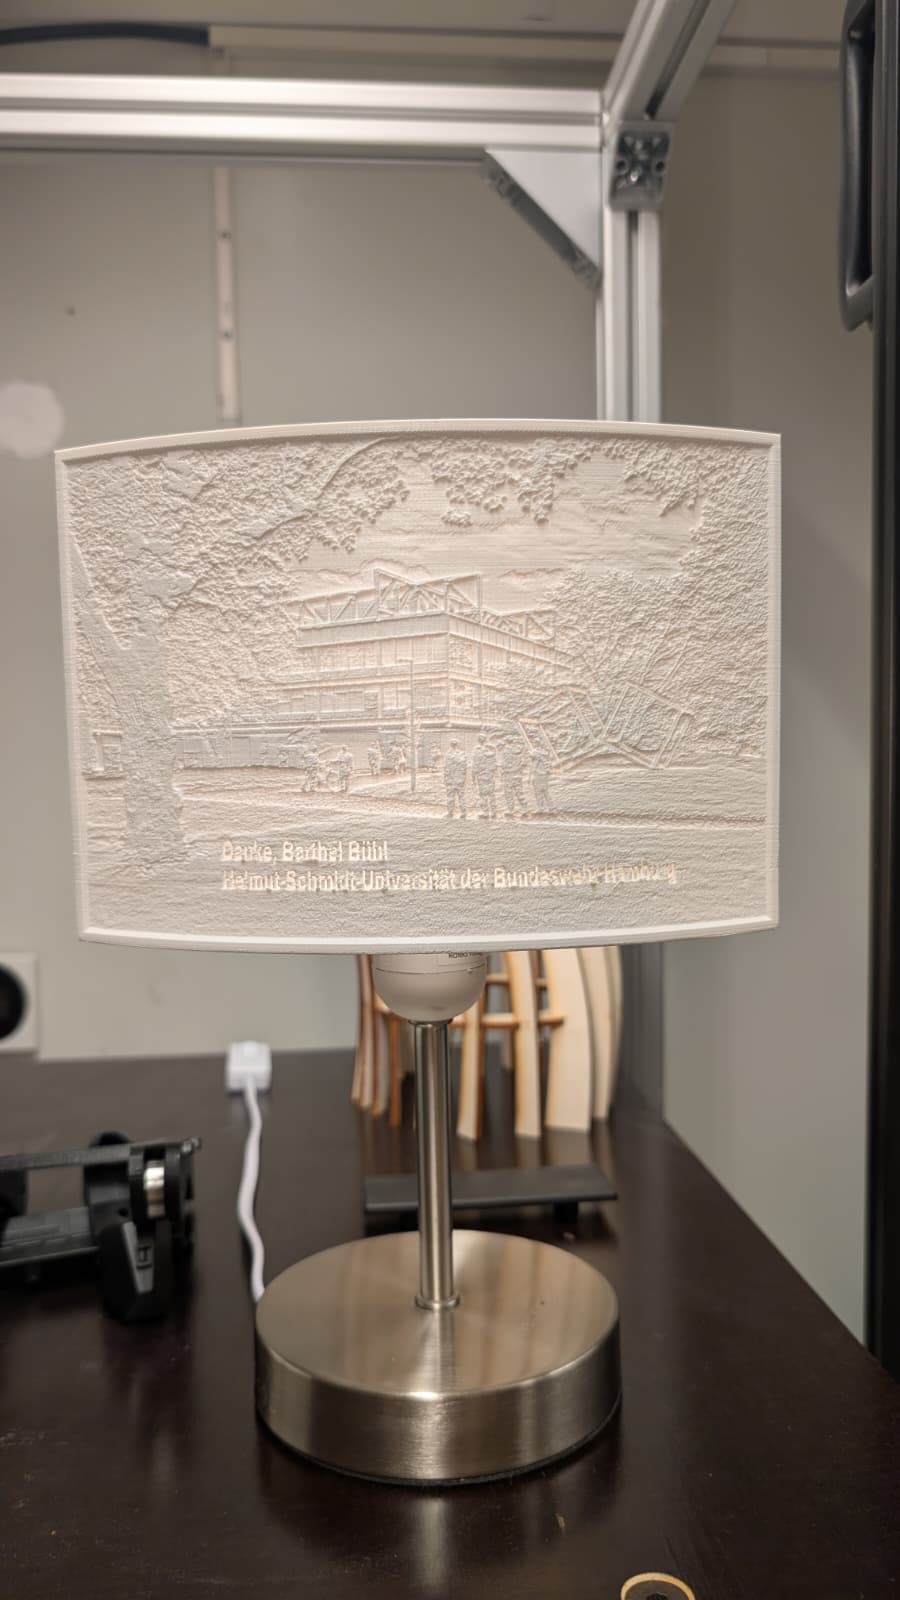
I had never seen anything like it and never heard about it, but I learned that it was called a lithophane lamp. Wikipedia told me that “A lithophane is a thin plaque of translucent material.” Sounds fancy but is simple. A lithophane is modern art that looks good when it is put in front of light.
Since everybody likes pictures, why not make one out of my pictures? But fancy.
I browsed through the internet, looked at different designs, and what other people did with these things, since “making something but fancy” is not quite specific.
Through my research I came up with three ideas:
Since I am not the most creative individual, I looked through the internet and found a design that I liked.
Later on it turned out that this design was not ideal for my wishes, but more on that later.

Very simple: ChatGPT and I got together and planned which components I needed, which brands were best, how I could realize my project, and how to wire everything together. The plan was to 3D-print a base and later cover it in wood.
I used the Black-Friday sale to my advantage and bought the more expensive components with a slight discount. The rest was bought later, piece by piece, in hardware stores, since everything I didn’t order was something I had forgotten.
In total, this project probably set me back 125–150€.
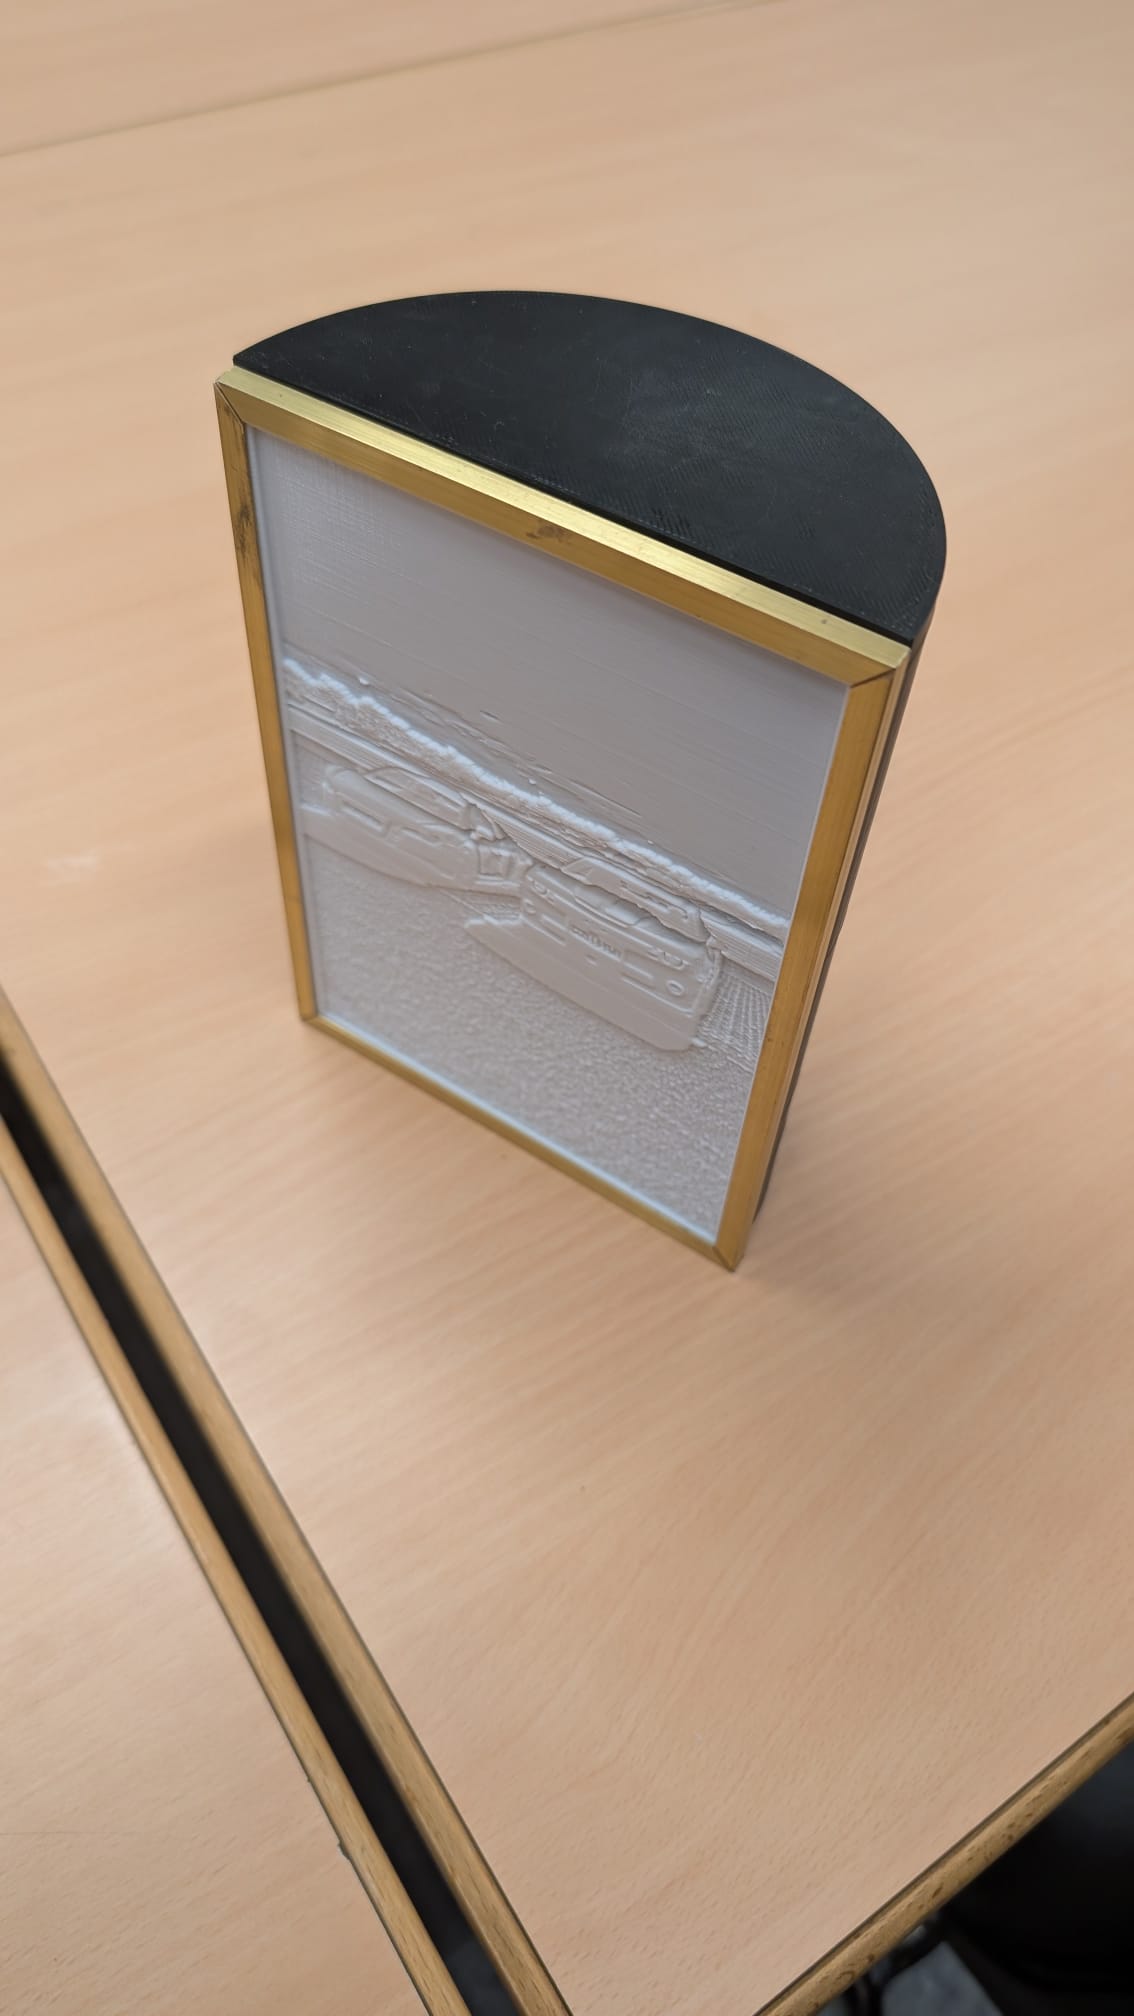
I first started with a rough 3D design, which I printed to get a feel for the project. Then I realised that this was not going to work out—the bi-curve design was a nightmare to work with—so I quickly changed to a half-circle design, which was a lot easier, since the lithophanes could be flat now. This improved the exchangeability as well as the construction.
I planned how to store my electronics and printed the next version, only to realize that I had printed it too small. But this design already showed some flaws in the areas where the electronics, plugs, and switches should be placed, so the next version was printed with the above considerations included.
This design had one major flaw: the bottom panel was fixed. Together with the height, this made it impossible to work in the area where the electronics should be placed.
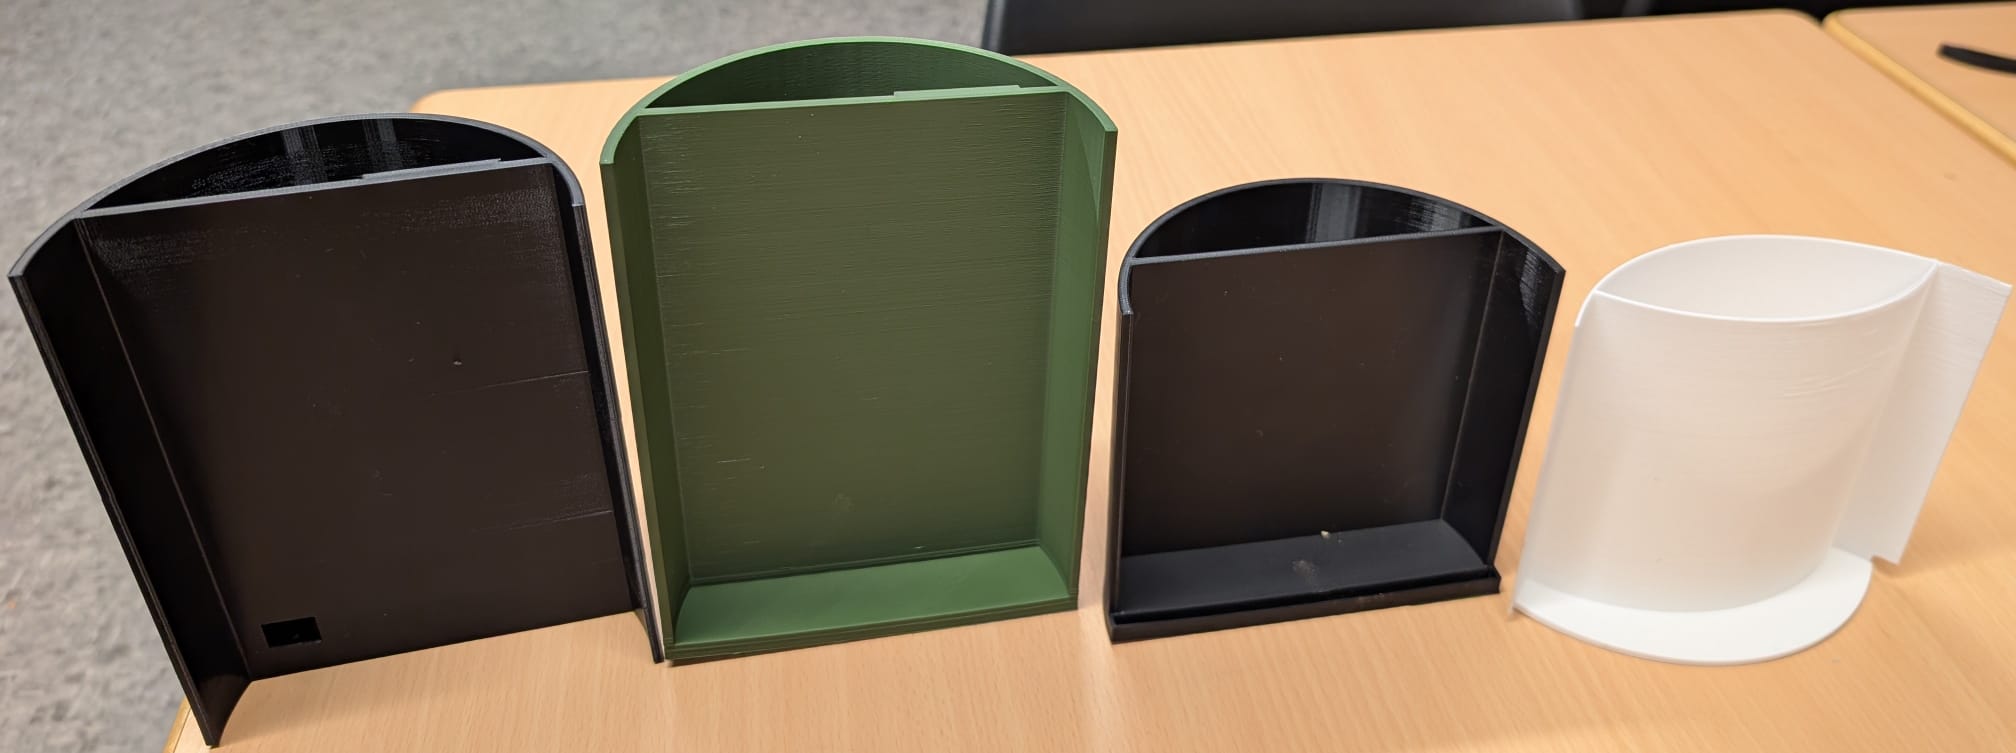
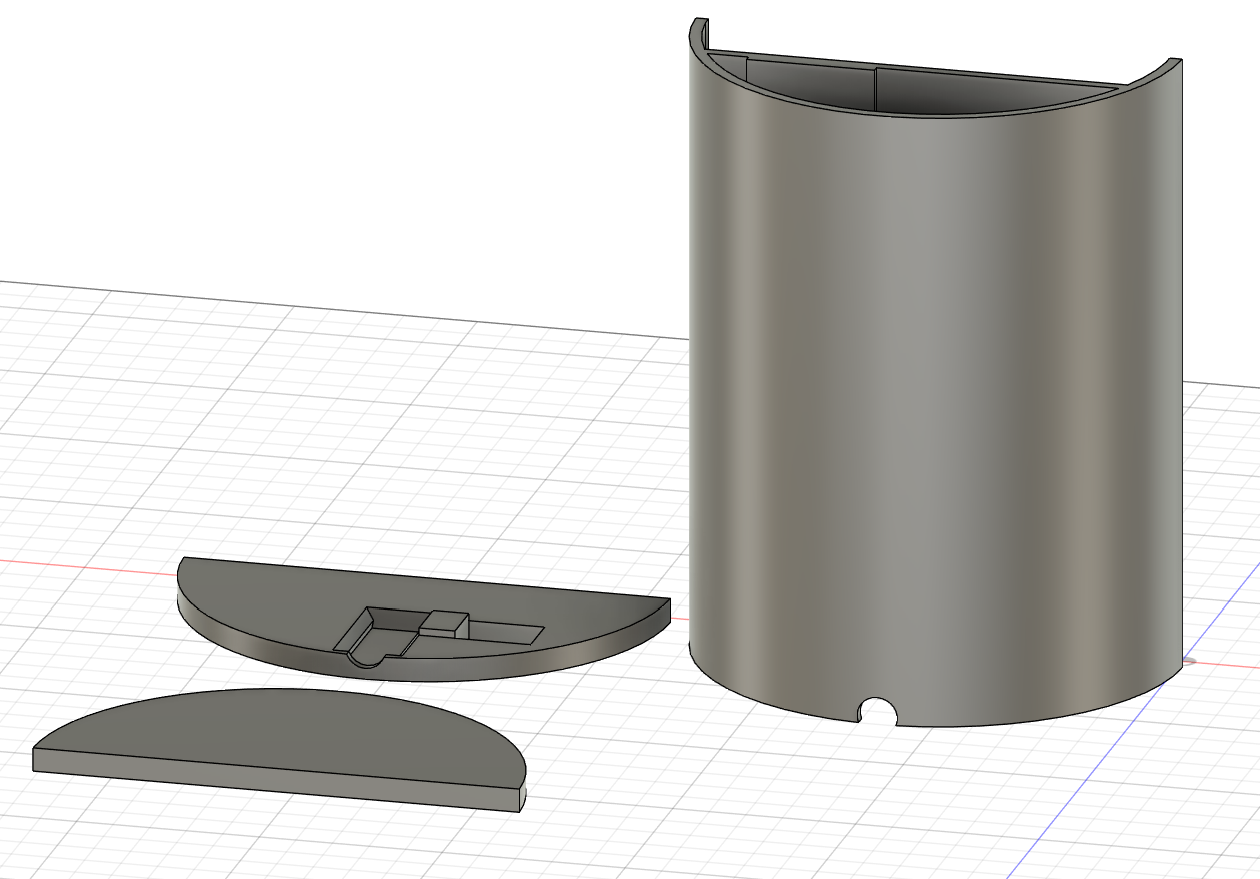
Therefore, I created the final design with a separate bottom and top part. After this, I started working on the electronics, soldering and clamping everything together—first in a rough configuration as a test and then more tidy with the components properly placed.


Before going into the final push, I quickly cut out the lithophane holder, the brass U-profile, and glued aluminum tape as well as the LED strip to the body.
At last, I started working on the software side. Together with online tutorials and ChatGPT, I built a software foundation, so the lamp is plug-and-play and works with Alexa. Technically, with minimal adjustments, it can also be controlled via the Google Smart Home application and WhatsApp, but since this was not my focus, I left it out.
This part brought many problems, since I have no clue about Python and the software used—so it was quite rough with lots of debugging.
This was the moment when I decided to split the project into two. The final assembly and wooden cover, as well as the last software refinements, are for another day, since I want to deliver quality work and not something just butchered together. The internals may look less fortunate, but from the outside the lamp shall look professional and good.
All in all, the project was quite fun and definitely a success, but also very stressful. I created the outline for what I had imagined—without compromises. This resulted in a product that I wasn’t even able to find online.
I definitely learned a lot and am looking forward to continuing the project.
This project is the continuation of the lithophane lamp: wooden cover, final assembly, refinement of the electronics placement, and polishing the software for daily use.
To be continued…